Atlanta Flute Club stuff

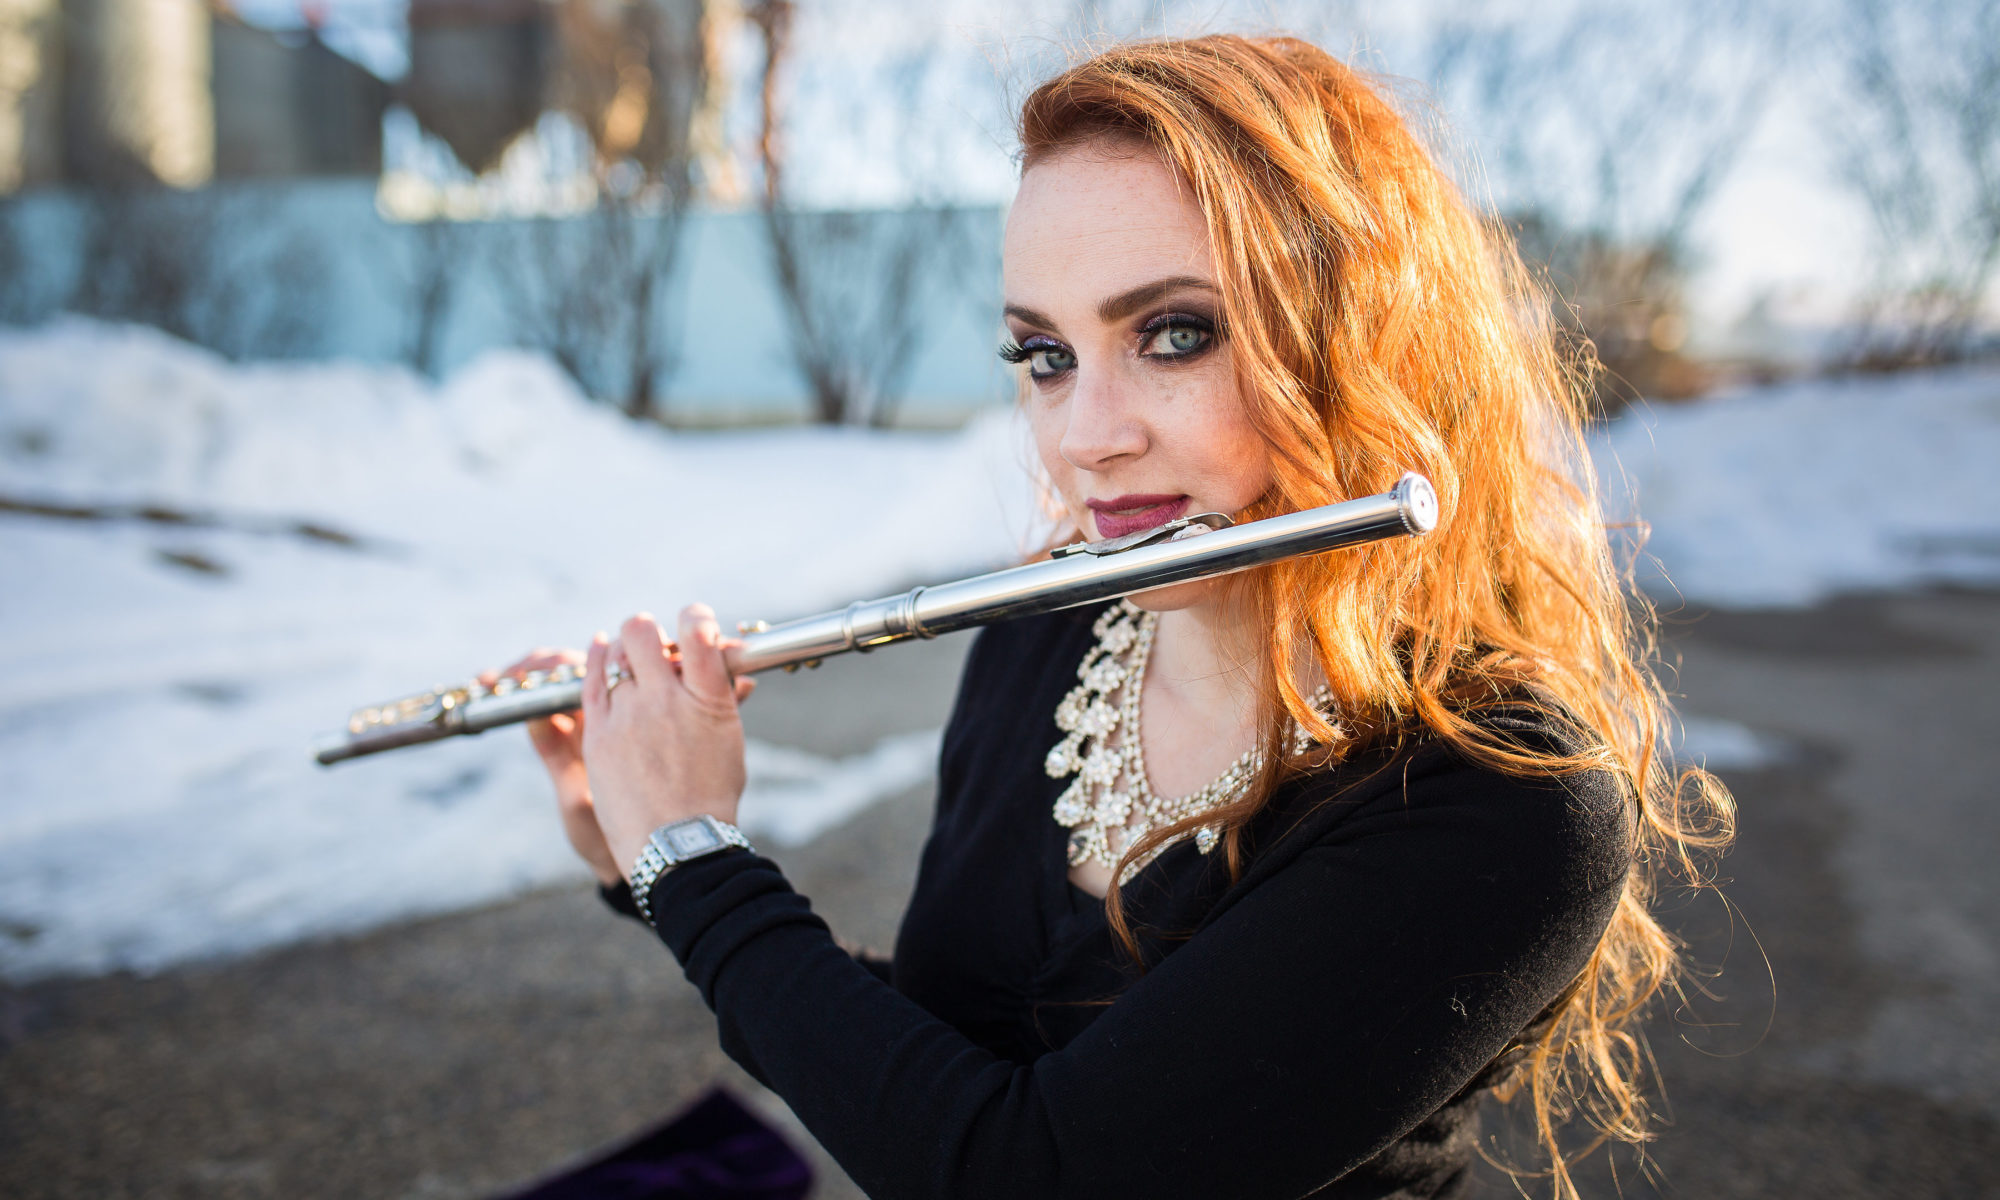
This year, I have the opportunity to serve as President of the Atlanta Flute Club. The responsibilities that go along with each of the activities we sponsor are fairly well-determined, as the same dedicated folks have streamlined the process over several years. This makes my job somewhat easier, so I can focus on other things concerning the club.

It’s really interesting for me to be involved with the Board of Directors of this group because I was fortunate enough to win their Young Artist Competition as a graduate studnet at Indiana University. It was really nice to be able to come back home during my time at IU and still be involved with so many great Atlanta flutists during the competition and then when I returned to give a solo recital during our convention the next year.

Years later, my focus has changed. No longer am I feeling the stress of practicing for and then making a competition recording I can be happy with. My main focus now as President is to make sure that we, as a flute club, are reaching as many flutists as possible. I want to ensure that we have quality programs that appeal to beginners, more advanced students, players in college, graduate students, amateurs, and professionals. I also want to make sure we reach performers as well as those who may be engaging in research involving the flute. I’m convinced that a thriving supportive community of flutists just can’t be wrong.

Any suggestions for Atlanta Flute Club events? Workshops that you’d love to see us host in the Atlanta area? Flutists who you’d like to see give a recital here? I’m always eager to hear your comments and suggestions.

Also make sure you check out our website and Facebook page to keep up with our latest news. We’ve got great stuff going on this year, including (but not limited to) a new competition, our annual Young Artist Competition, opportunities to present workshops, and Ian Clarke as our Flute Fair guest artist!


Technique stuff

If  you are interested in following along with Sir James Galway as he overhauls his technique, check out the following video. He has issued a “Practice Challenge,” where flutists from presumably around the world will all be working out of the same technique book. He will be using Marcel Moyse’s Daily Exercises book. I will be following along with the challenge loosely. I usually work out of this Moyse book every day, so I am going to be adapting the challenge by fiddling around with the articulations.

http://galwaynetwork.com/scale.htm

I’m also feeling rather sheepish about my short-lived experimentations with circular breathing. I started work on it a little over a year ago but didn’t commit to it like I should have. Now I’m kicking myself; if I had stuck with it, I would have probably been fairly fluent in the technique by this point. I’ve dug out my book and am considering adding it to my practice regimen. Anyone out there have any experience with circular breathing?

Alexander Technique

I was first introduced to Alexander Technique about 10 years ago at a flute masterclass with Keith Underwood. It was a useful tool for discovering unhealthy habits and sources of muscular tension. Since that time, I haven’t pursued additional training in Alexander Technique, but I am realizing tension in my playing that I think can be addressed through it and through a related idea, Body Mapping.

For me (and I think a lot of others), everyday stress leads to tension in my playing. My sources of stress include trying to balance my life: many jobs, frequent driving, practicing, and time for my family. It is very easily to allow these things to become overwhelming, resulting in tense practice and very little progress made.

So what is Alexander Technique? According to an introductory article on www.alexandertechnique.com, the technique is a “method of releasing unwanted muscular tension throughout [the] body which has accumulated over many years of stressful living.” In fact, it is quite possible that these harmful behaviors have become our “default” setting and we aren’t even aware of the fact that they’re causing tension and possibly other ailments.

The technique is named for F.M. Alexander, an actor who developed the technique out of sheer necessity. After beginning to lose his voice while working as a Shakespearean orator, he faced either addressing the problem or finding another career. His discoveries form the basis of Alexander Technique.

Alexander Technique is frequently used by musicians. We are often referred to as “athletes of the small muscles.”As with other athletes, we make intense demands on our bodies and we also make a significant number of repetitive movements. Imagine the stress and injury that can happen after years of recurring movements made when your body is holding such tension!

I’m challenging myself to remain more aware of sources of tension. I hope that, in the next month, my practicing will become freer and less tiring. I know this is nearly impossible to quantify, but I know my own playing well enough to have a clear idea of my progress. I encourage you to think about sources of tension in your own playing and make some deliberate efforts to eliminate that tension.

Teaching non-music majors

It seems that, as young faculty members, the task of teaching non-music majors falls to us. My first college teaching gig wasn’t teaching applied flute (even though I have three degrees in the subject) – it was teaching music appreciation. It’s a real eye-opener to go from a graduate program, taking upper-level musicology seminars, to teaching basic music appreciation to students who may never have heard classical music before.

Obviously, this takes an adjustment. And I will take this opportunity to offer my most sincere apologies to the students in my first semester teaching (because that just couldn’t have been a great semester) and sincere thanks to my first boss for hiring me.

So what are some of the challenges that musicians face when teaching non-musicians? Here are a few; feel free to contribute your own.

1 – Terminology. If you think about it, we use A LOT of jargon. Polyphony. Fugue. Arpeggio. Mixolydian. All I have to do is listen to my computer-guy husband on a conference call, using words that are nonsense to me, to understand the effect that the musician’s language must have on non-musicians. I think it’s important to use a lot of the “correct” musical terms because they’re so precise, but they really need to be introduced gradually and with plenty of explanation and context.

2 – Musical Excerpts. Yes, we know Beethoven, Bach, Mozart, and Wagner. But a lot of times, non-musicians haven’t heard the staples of our repertoire outside of pop culture. The musical elements we can detect after hearing Beethoven’s 5th for the hundredth time will be different from someone who has never heard it other than the opening motive. We both have something to teach each other. As the musical expert, we can point out subtleties. But sometimes I envy someone who is hearing some of the great classical pieces for the first time. A first listen through Rite of Spring? What an exciting experience that must be. Sometimes the non-musician’s reaction to an initial hearing may remind us of elements we may have forgotten.

3 – Level of detail and expectations. Yes, I eventually learned to analyze classical forms and can argue where the transitions begin. I can do a decent Schenkerian analysis. Is this necessary for non-majors? NO. I think sometimes our expectations are too high. This is understandable. We’ve spent so many years studying music on an intense level that it can be difficult to remember what it’s like to not think that way. If one of the goals of teaching non-musicians is to help them enjoy it, our expectations have to be realistic.

I always look forward to the challenge of introducing western art music to a new group of students each semester. Hopefully they take away something useful from the class.

Setting Expectations and Establishing a Culture

As the fall semester is very nearly here, it’s time for me to get my Flute Studio Syllabus together. My goal in creating my syllabus (besides appeasing the administration!) is to set expectations and establish a culture in flute studio for the year. Hopefully, by doing this at the very beginning, all of my students will understand what is expected of them and how to best fit into a group of flutists.

Most of the time, my incoming college freshmen have never had flute lessons before. This is a stark contrast to my own experience. As a freshman, I had had many years of lessons, which included lessons with the professor with whom I was studying in my early college days. Therefore, expectations were quite clear. I knew the score – I was expected to be perfectly prepared for lessons every week and never to miss them.

The culture aspect of the flute studio has been vastly different in my experience from place to place. What do I mean by culture? I’m referring to how the members of a particular studio relate to each other. My experience has really run the gamut. I have been part of studios that were incredibly cut-throat, those that were very supportive, and those where there was really no culture at all. In this last instance, the flute students didn’t really interact with each other very much.

So, looking forward to Fall 2011, what do I want the studio experience to be for my students?

As far as their obligations to me, I expect for them to:
Practice.
Come prepared to lessons.
Keep lesson times reserved exclusively for lessons.
Participate in ensembles.
Maintain a positive, helpful attitude.

As far as their obligations to each other, I expect them to:
Be friendly and supportive.
Take on a mentoring role to the younger students.
Maintain a healthy level of competition.
Attend each other’s performances.

And their obligations to themselves:
Further develop their creativity by exploring chamber music.
Read. A lot and often.
Listen to quality recordings.
Attend live music events.
Perform whenever and wherever possible, even though it can be scary.
Develop new friendships with musicians.

This doesn’t feel like an exhaustive list to me, and I’m sure I will continue to refine it until the semester begins.

I’m very interested in how those applied college professors out there (of any instrument) set expectations and establish a studio culture. What are your thoughts?

Practicing Difficult Sections

What do you do when you’ve practiced that one difficult section over and over and over again, and it still isn’t right? It’s not fast enough, or smooth enough, or loud enough, or …

It can be really frustrating when you’re making an honest effort to improve but you aren’t seeing results.

Next time you find yourself stuck in this situation, try the following tips. You’re still practicing the same musical material, but you’re making your brain (and fingers) think about it in a different way.

First – make sure you’re practicing slowly with a metronome. Play it as slowly as needed so that you’re able to play the entire passage correctly. This may be half-speed or even slower. That’s ok; you’ll speed it up later.

Second – Try playing the passage with different articulations. Take a look at this measure taken from Robert Muczynski’s Sonata for Flute and Piano:


Instead of playing it as written, try articulating each note:

Then try slurring pairs of notes:


Then try slurring larger groups:

Finally, play it again as written.
Third – Alter the rhythm of the passage. Instead of straight eighth notes, play a dotted eighth-sixteenth note pattern:

Then try a sixteenth note-dotted eighth note pattern:

Finally – Try playing the passage backwards. This gives your brain and fingers a serious workout. Work on this section backwards until you can play it smoothly and comfortably.


Once you’ve practiced this section with all of these changes, play it as written. Even after a short amount of practice, you should see a considerable improvement.

Have you tried any of these tips? Let me know how they work!

Perspective

Often, when you have been doing a considerable amount of practice, you suddenly feel like you’re getting much WORSE instead of better.

In my experience, this is actually a good thing. You aren’t getting worse. It’s just that your ears are now more acutely aware of the things about your playing that could be improved. You’re developing a more critical perspective.

Keep plowing through. You’ll get over the hurdle. Sometimes a little self-awareness is uncomfortable, but it means that you’re improving.

B-flat options

I will readily admit that I’m a bit of a nut when it comes to playing B-flat on the flute. I’m always very deliberate when it comes to which fingering I choose for this note. It’s really important to make sure that you’re using the most advantageous fingering for the passage you’re playing to make sure your transitions between notes are smooth.

How many ways do we have to play B-flat, you ask? Excellent question!

There are three unique fingerings for B-flat:

1. Most beginning band books introduce this one:

Obviously, this works. However, I find myself using it only very rarely because it can be very awkward. Try playing from B-flat to G. Notice that you have to press down two keys with your left hand while simultaneously lifting the pointer finger of your right hand. Any time we have to lift fingers while pressing down other fingers, there is the very real possibility of not exactly coordinating them perfectly. This can result in a clunky transition, or even an unintentional wrong note between the two notes you intended to play. This might not be an issue when you’re playing slow music, but when you find yourself facing a fast passage, efficiency is everything.

2. The B-flat thumb option:

If you weren’t sure about that key to the left side of the thumb key, you’ve been missing out! Try playing B-flat, switching between the Band Book B-flat and the one using the B-flat thumb key. You shouldn’t notice any difference in pitch at all. (If you do, you might have a leak somewhere!) This is a legitimate fingering for B-flat, and it isn’t “cheating” at all. In fact, you can use this key for ANY note requiring the thumb key to be pressed, except for high F-sharp and B-naturals. This means that the B-flat thumb key is really handy to use in any piece that features a flat key signature. Try the same exercise as above, playing from B-flat to G. This time, use the B-flat thumb key. See how much easier that is?

3. The B-flat lever:

Ever wonder what that strange-looking key was to the left of your right index finger? That’s the B-flat lever, and it is incredibly handy in certain situations. You can use this in what are called prepared fingerings. It works well in chromatic scales and in the G-flat major scale and helps us avoid that unfortunate predicament of having to pick up fingers while simultaneously pressing others down.  Here’s how to use it in the G-flat scale: Play G-flat as usual. When playing the A-flat, use the standard A-flat fingering. However, go ahead and press down the B-flat lever at this time. It doesn’t affect the pitch at all. Then, when you lift the appropriate fingers to play B-flat, you only have to lift instead of having to also press down a key to play B-flat. Pressing down keys in anticipation of a note is what is called a prepared fingering. This might seem overly-complicated at first but once you work it into your technique, it does make things smoother.

Make sure you choose the correct B-flat fingering for the music! Playing more efficiently is always a laudable goal, so streamline your practicing by familiarizing yourself with all of your options.

* Fingering charts courtesy of the Fingering Diagram Builder by Dr. Bret Pimentel, Assistant Professor of Woodwinds at Delta State University and all-around nice guy. Check out his work (including fingering chart builders for the other woodwinds) at www.bretpimentel.com.

Breaking down practice

To follow up on my last blog post, Practicing: run-throughs vs. small chunks, here are some ways to break down your practice to get more work done in less time. I’ve chosen an example from the Rubank Elementary Method for Flute, but these ideas apply to all music at all levels of difficulty.

Copyright by Rubank, Inc.

First things first: Check out the key signature and time signature. In this case, we’re in the key of G Major, so we have an F-sharp. (No B-flats here!) We’re in common time. These seem easy, right? It’s still important to take a look at these before starting, so you don’t play a B-flat in the first measure.

Next: Just scan the piece. What do you notice? I see three sections, which are offset by double bar lines. The first line of the piece is the first section. The second section includes the second line and one measure of the third line. The third section picks in the second measure of the third line and continues to the end of this example. It looks like the first section and the third section are quite similar. Why does that matter? Well, if you learn the first line, this means that you’ve also learned the majority of the last line. Now that’s pretty efficient!
Take special notice of how the two lines differ; there are only two notes that aren’t the same between those two lines.

What about the second section? How is this one different from the others? Well, the notes are faster. Instead of half notes and quarter notes, we primarily see quarter notes and eighth notes. Make sure you choose a tempo at the beginning that will allow you to play both the half notes as well as these later eighth notes comfortably. It’s no fun to pick a tempo that works well for the begining and then causes you to stumble when you later reach faster notes.

Other things to notice: What are the first three notes of this example? Right – it’s a G Major arpeggio. (Yes, this is why we have to learn scales and arpeggios!) If you’ve been practicing scales and arpeggios, your fingers will already know what to do at the beginning of this example. What happens after the arpeggio? We basically have notes taken from the G Major scale. We ascend to an E, and then descend stepwise to G and then go up a few notes to end on B. If you know your G Major scale, this is very easy. Look at the rest of the example to find areas that move stepwise and places where the line might be arpeggiated. If you have trouble with those jumps, mark them with a bracket to help you anticipate them.

Some final thoughts:

– There are no dynamics notated in this example. Otherwise, you would want to do a quick scan of the music to help you plan its dynamic shape.
– The form of music is made through repetition and contrast. Our ears crave both of these things. We like familiarity (the repetition), but we also get bored and require new sounds (the contrast). Realizing this concept will help you in your practice because you will find that lots of musical ideas are repeated throughout a piece, whether it’s from Rubank or a complex sonata. Instead of having to approach the entire piece like it is made up of new and completely different sections of music, you only have to learn it once and then apply those ideas the next time that section is encountered.
– After you’ve become acquainted with the example, you will want to introduce the metronome to your practice. This is just a quick look at how to start approaching a piece, so I haven’t included any metronome tips here.

What else do you notice about this example?

Facebook
YouTube
Instagram
Tiktok